
Last updated November 22, 2026
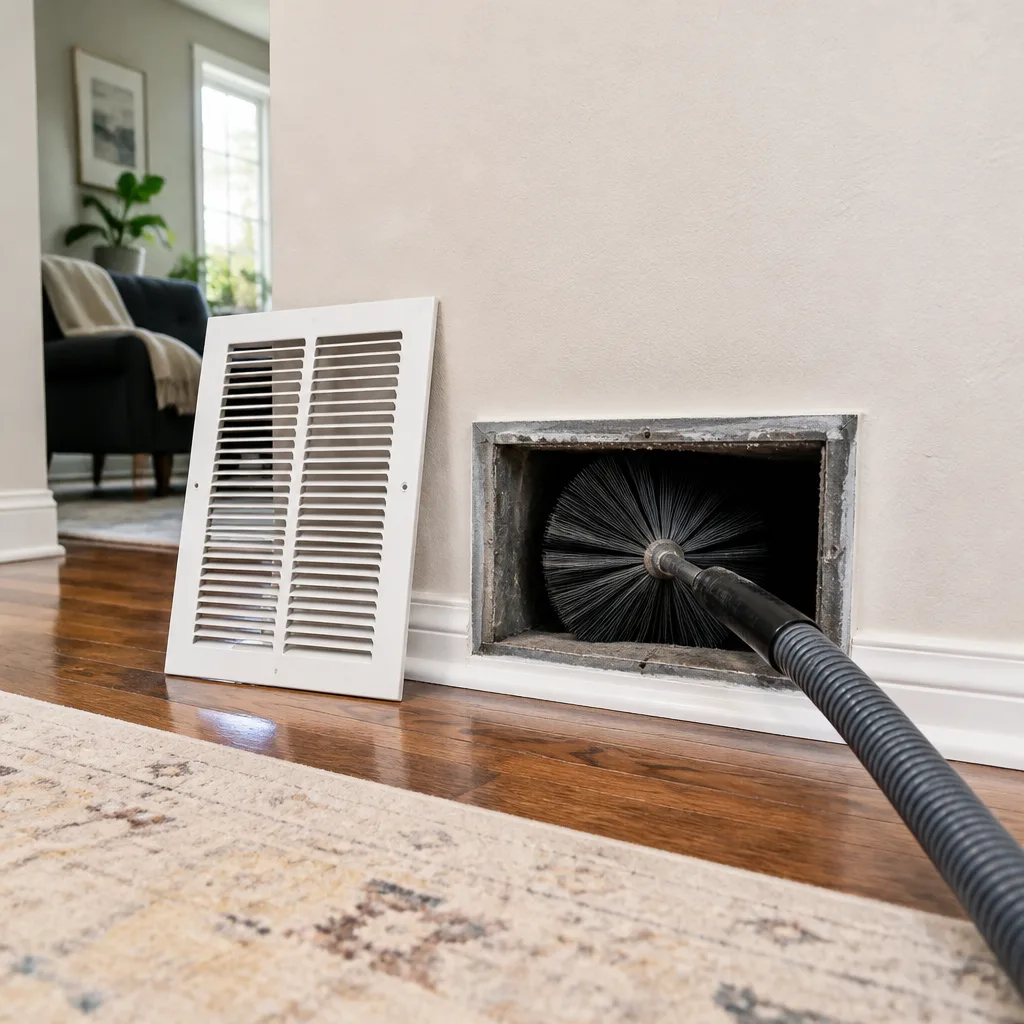 Whole-home duct cleaning
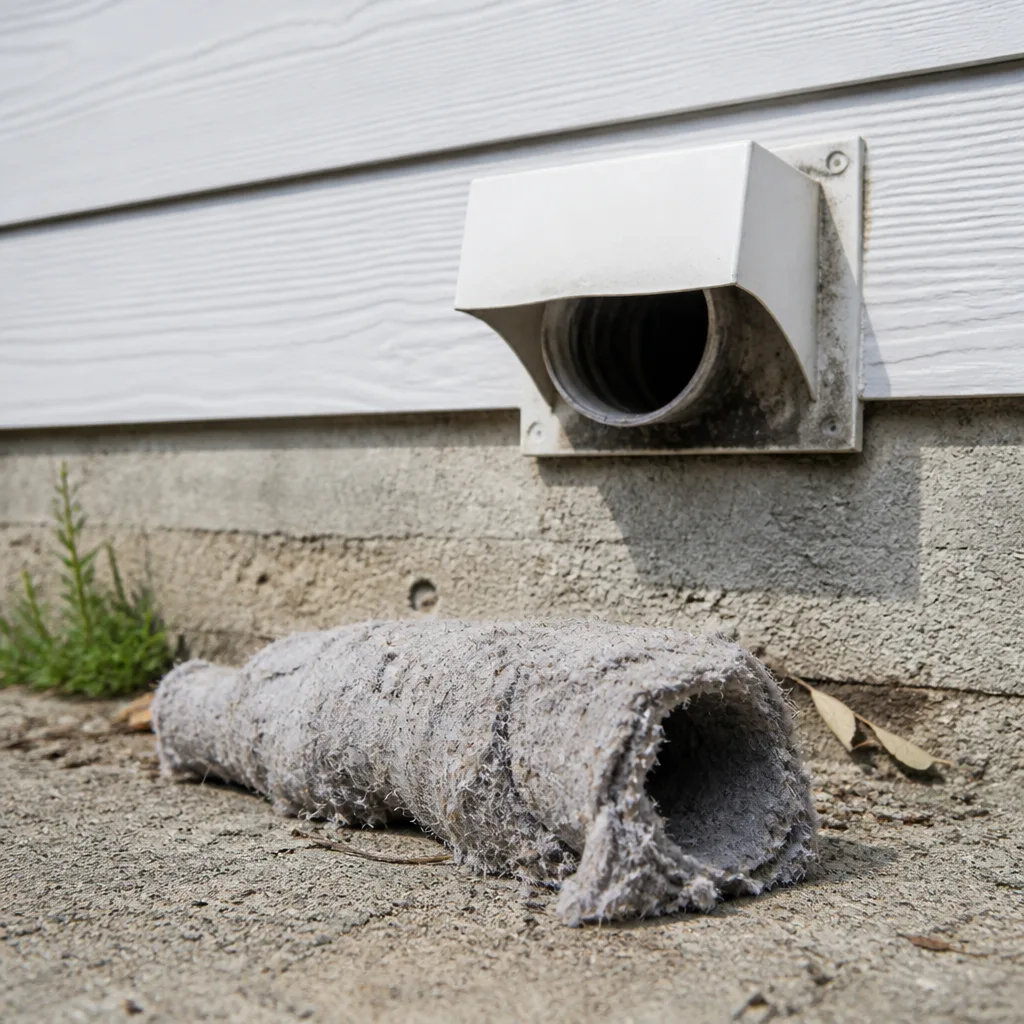 Dryer vent cleaning
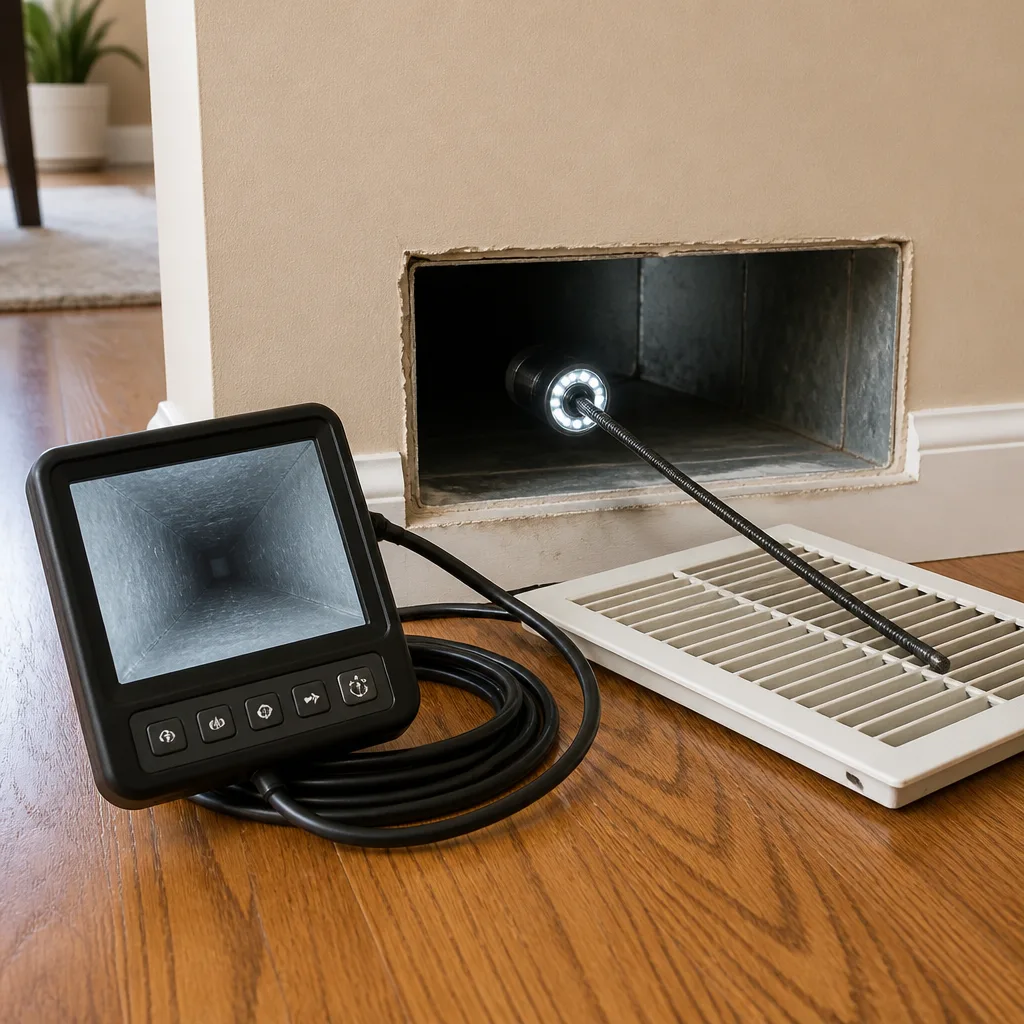 Camera inspection
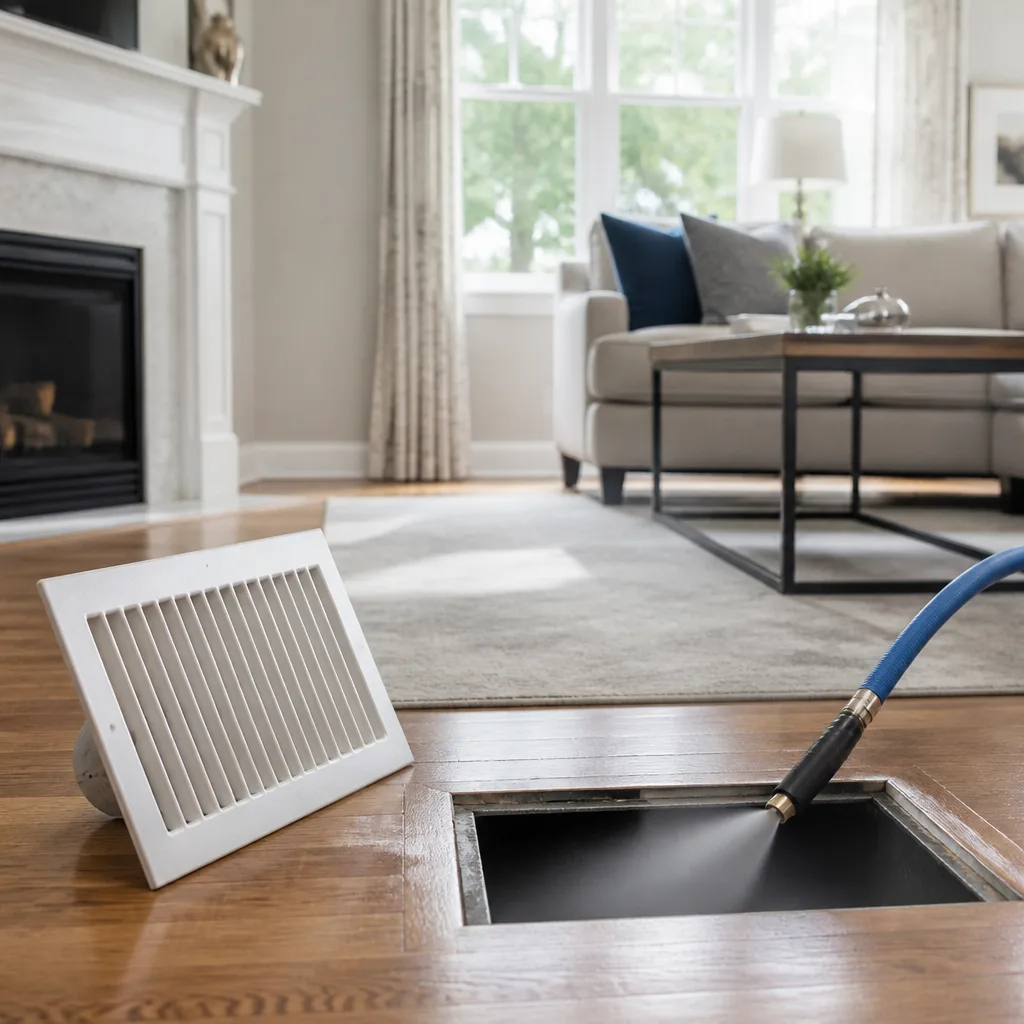 Sanitizing & deodorizing
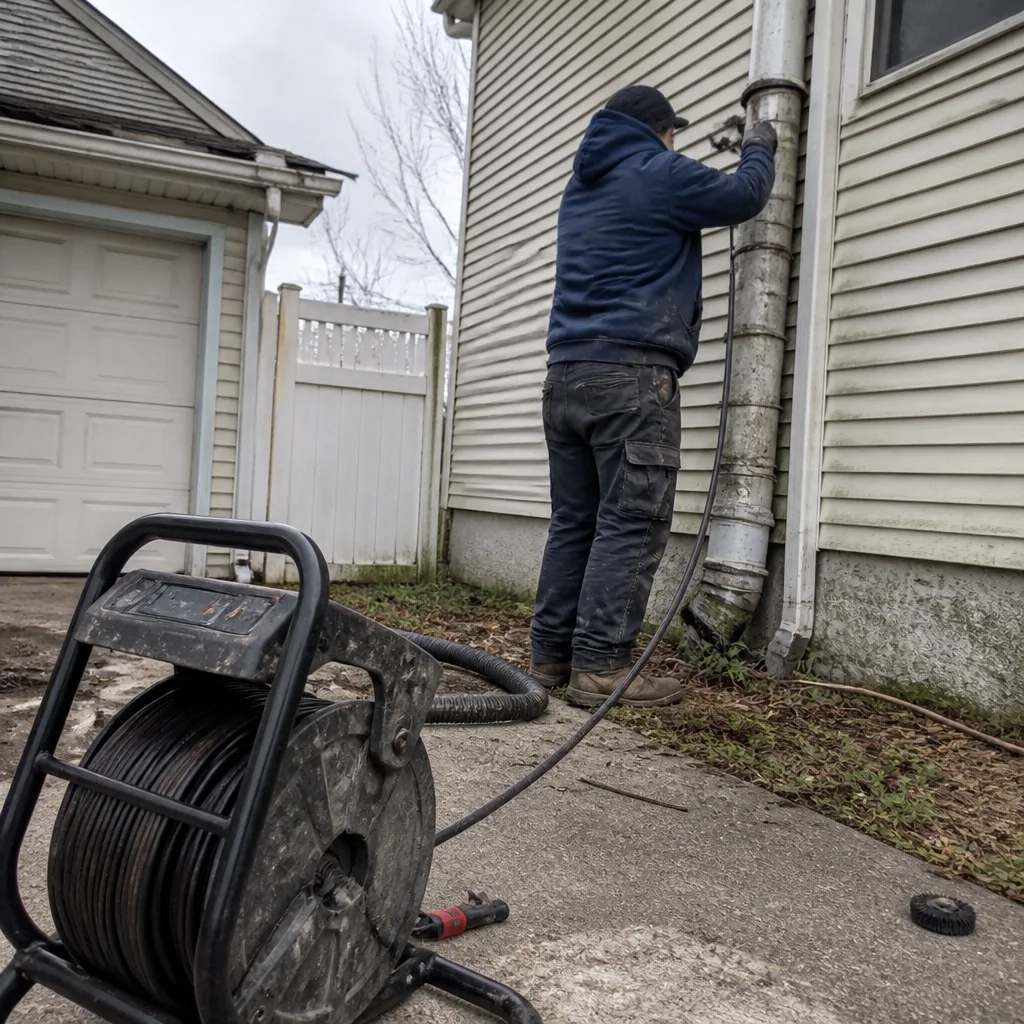
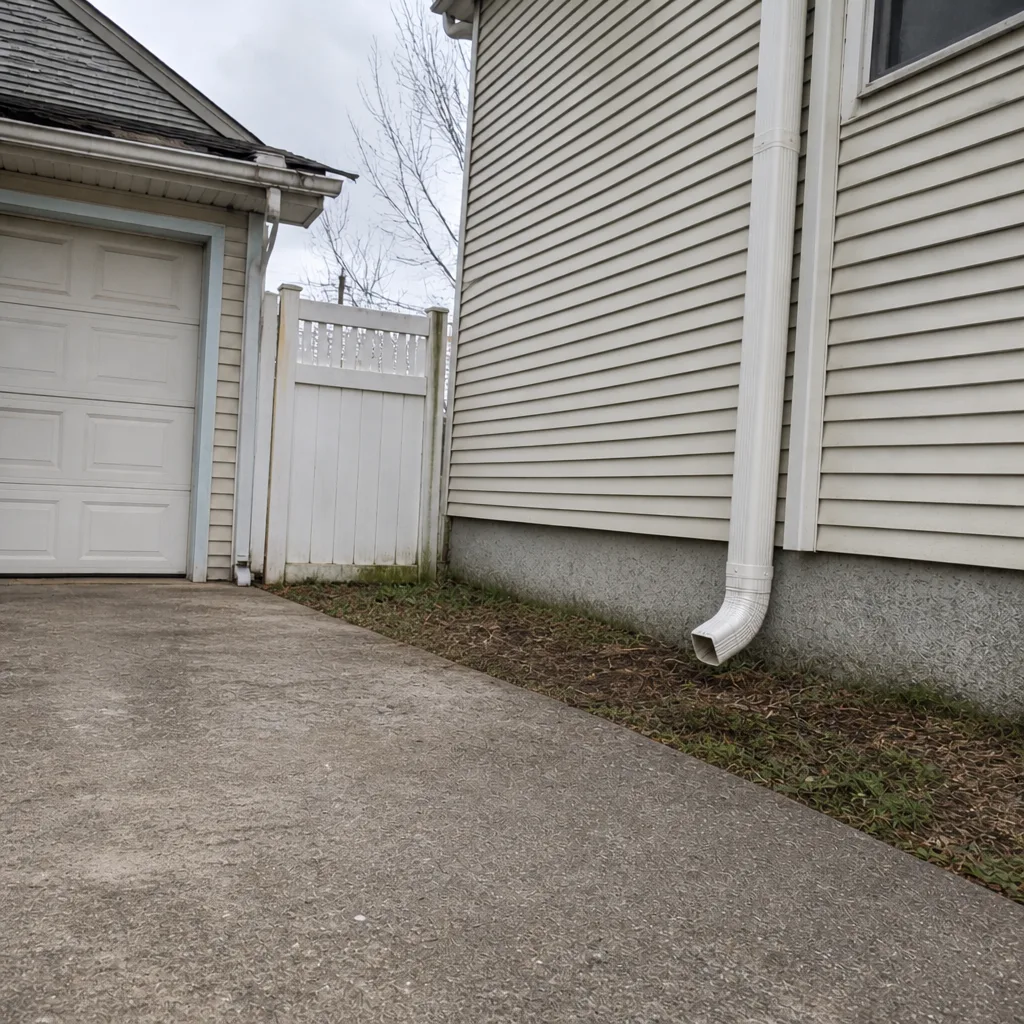
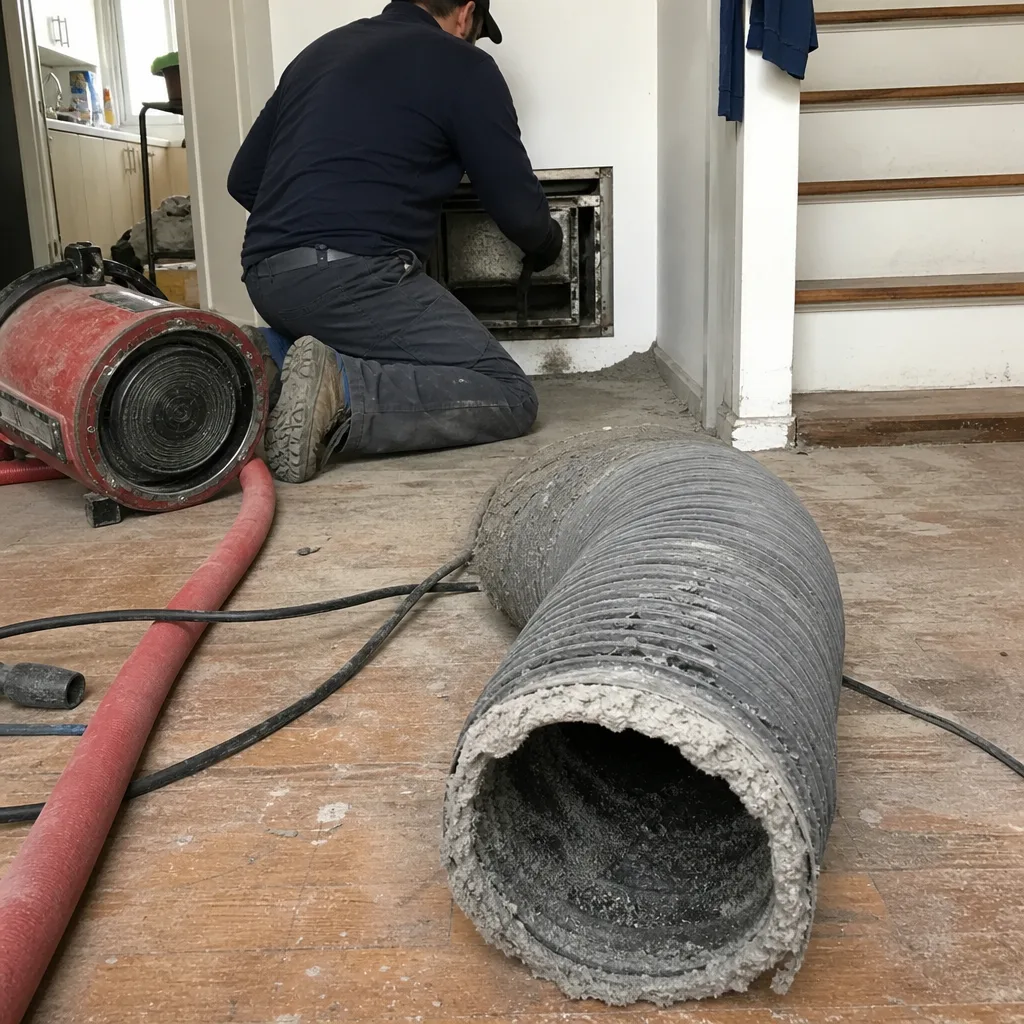
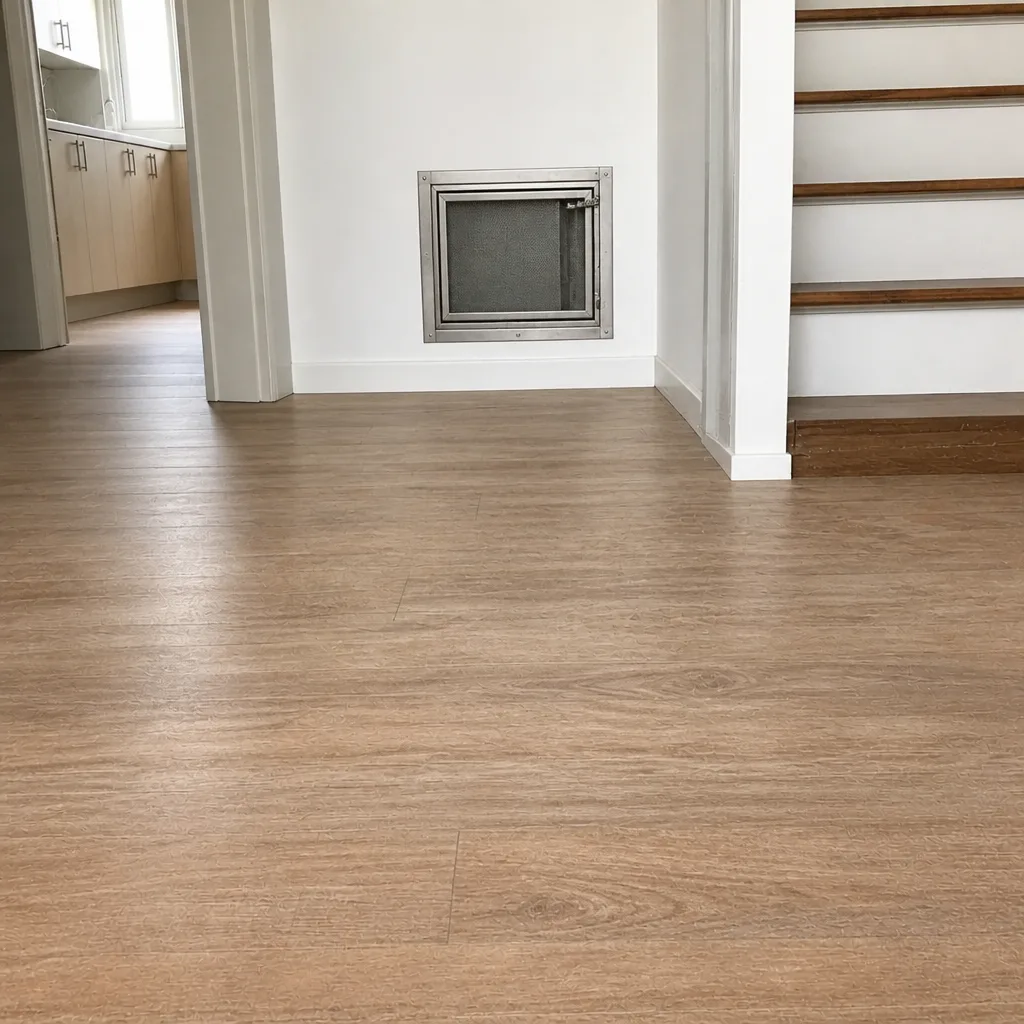
Whole-system duct and dryer vent check with before-and-after photos - you see exactly what came out of your vents
That "$99 whole-house special" is a bait ad - the real number appears once they are in your hallway, or the "clean" is a shop-vac at the register. We photograph the inside of your ducts before and after instead.
Air Duct Cleaning Troubleshooting in Astoria: Common Problems and How to Fix Them
If your HVAC technician replaced a part and the problem came right back, there’s a decent chance the duct system was the culprit the whole time. Most people in Astoria blame the furnace, the AC coil, or the thermostat for uneven rooms and weak airflow. Those parts are easy to point at. The ducts are buried in ceilings, closets, and wall chases, so they get ignored until something obvious fails. This guide flips that instinct around. You’ll learn to read the actual symptoms your duct system produces, match each one to a root cause, and decide what’s worth a DIY fix versus what needs professional negative-pressure equipment. Astoria homes have their own quirks, and the troubleshooting below is built for them.
Quick Answer
To troubleshoot air duct problems in Astoria, start by matching the symptom to the system: uneven room temperatures usually point to airflow restriction or a leaky joint, musty odors after cleaning point to leftover debris or a wet liner, and rattling or whistling points to loose ducts or undersized returns. Most homeowner fixes stop at the filter and the register dampers. Anything behind the drywall or in the attic needs a professional with negative-pressure duct equipment to diagnose and resolve.
Styles & brands we work with
- Whole-home duct cleaning
- Dryer vent cleaning
- Camera inspection
- Sanitizing & deodorizing
Table of Contents
- Symptom-to-Cause Map: Read Your Duct System
- Why Are My Rooms Different Temperatures?
- Why Does My House Smell Musty After Cleaning?
- Weak Airflow From a Register: Collapse, Disconnect, or Blockage?
- Duct Noise Diagnostics: Rattling, Whistling, Popping
- DIY Fix vs. Professional Equipment: Where’s the Line?
- Dryer Vent Problems That Look Like Duct Problems
- When Cleaning Isn’t Enough: Repair and Sealing
Symptom-to-Cause Map: Read Your Duct System
Before you call anyone, spend ten minutes walking through your house with the system running and a mental logbook. A duct system tells you what’s wrong if you know what to listen and feel for. The group below is the fastest path from “something’s off” to “here’s the likely cause.” In our experience, the guesswork stops the moment a homeowner can name the symptom precisely.
| Symptom | Most Likely Cause | How to Confirm Without Opening Walls |
|---|---|---|
| One room always cold or hot | Airflow restriction, closed damper, or a leaky joint upstream | Feel the register output against a neighboring room; check the damper lever |
| Weak airflow at every register | Clogged filter, collapsed flex duct, or blower issue | Replace the filter first, then compare to a register closest to the air handler |
| Musty smell that returns | Wet liner, leftover debris, or a damp return chase | Check for condensation on the plenum and smell near the return grille |
| Whistling at a register | Undersized return or a crushed duct behind the grille | Listen at multiple registers; whistling shifts when you move the grille |
| Rattling or popping | Loose duct metal, a poorly fitted joint, or pressure swings | Follow the sound with the system cycling on and off |
| Dust settling fast after cleaning | Loose debris left behind or a leak pulling attic or basement air in | Wipe one surface, wait three days, and see if dust returns heavily |
Astoria homes tend to fall into two duct patterns: prewar walk-ups with round metal ducts in wall chases, and newer conversions or townhouses with flex duct running through soffits. Each fails in its own way, and the symptom map above works for both. What matters is consistency: if one room misbehaves and the rest are fine, you’re almost certainly looking at a local restriction, not a whole-system problem. If the entire house feels starved, the cause is usually upstream near the air handler. That difference alone saves homeowners a lot of money on the wrong repair.
Why Are My Rooms Different Temperatures?
Uneven temperatures across rooms are the number one complaint we hear in Astoria, and they almost never trace back to the furnace or AC unit itself. The system is usually producing heat and cold correctly. The problem is that conditioned air isn’t reaching the right rooms in the right volume. There are three culprits, and you can tell them apart with observation.
- Flow restriction. A damper is partly closed, a register grille is blocked by furniture, or debris has narrowed the run. The affected room feels weak at the register and fine at the air handler.
- Duct leakage. A joint has separated or a seam has opened, and conditioned air is spilling into a wall cavity or attic before it reaches the room. The affected register feels weak and the run in the ceiling or floor may feel warm to the touch.
- Oversized or undersized run. The duct simply isn’t sized for the room’s heat load, so even with clean ducts it under-delivers. This is common in older Astoria buildings that have been reconfigured over the years.
The way to narrow it down: set the thermostat to a constant temperature, wait an hour, then feel the output at the weak register and at a strong one. Then feel the duct where it enters the wall or floor in each case. If the weak register is also warm to the touch even on a cool setting, leakage is likely. If both ducts feel normal but the airflow volume is different, restriction is likely. If both are weak, look upstream at the air handler first.
What Astoria homeowners miss most
Astoria’s mix of radiator-era buildings and newer forced-air conversions means return-air paths are often an afterthought. A room that gets hot but won’t cool may simply have too little return. When we visit, checking return capacity is often the difference between chasing a phantom problem and finding the real one. Duct repair and sealing on the return side can fix a comfort issue that no amount of cleaning will touch.
Why Does My House Smell Musty After Cleaning?
Musty odors after a duct cleaning almost never mean the sanitizer failed. In nearly every case we’ve seen, the smell points to one of two physical realities: leftover debris inside the system, or a wet duct liner that stays damp and breeds odor. A sanitizer can only treat what’s actually clean and dry. If the underlying conditions aren’t resolved, the smell returns within days.
Leftover debris
Mechanical duct cleaning relies on agitation combined with negative-pressure extraction. If the extraction side isn’t strong enough, loosened debris stays in the system and settles back down once the machine is off. This is why professional-grade equipment matters. A shop vac can whip up dust without ever capturing it. Rotobrush and similar purpose-built systems agitate the duct while a sealed vacuum holds the debris under negative pressure the whole time.
Wet duct liner
Interior acoustic liner is common in older ductwork. When it gets wet from condensate, a roof leak, or high humidity in a basement run, it holds moisture and odor. No sanitizer fixes a wet liner. The liner has to be dried, repaired, or in some cases replaced, and the water source has to be fixed first.
Return chase contamination
Return-air chases are often installed inside wall cavities and are the most overlooked part of the system. They pull in dust from the room and can also draw in air from unconditioned spaces. If the chase isn’t cleaned or sealed, the supply side stays effectively recontaminated from day one.
If the smell persists, the sequence should be: inspect for moisture, verify debris removal, then decide whether sanitizing is even appropriate. Air quality and sanitizing is a dedicated service for a reason, and it should come last in the workflow, not first.
Weak Airflow From a Register: Collapse, Disconnect, or Blockage?
A single register with weak airflow is a straightforward diagnostic if you work through the possibilities in order. Collapsed flex duct, disconnected joints, and hard blockages all present similarly at the register but behave differently when you test. Here’s how to tell them apart without opening a wall.
- Replace the filter first. A clogged filter starves the entire system, and it’s the cheapest test you can run. If the whole house improves, you’ve solved it.
- Check the register grille and damper. Remove the grille if it’s tool-less, look inside for a stuck damper, a collapsed flex duct, or a visible obstruction. A flashlight is usually enough.
- Do the tissue test at multiple registers. Hold a thin tissue against the register. If it flutters or drops, airflow is truly weak. If it pulls flat, the register is moving air and the problem is elsewhere.
- Listen for the collapsed-duct signature. Collapsed flex duct often creates a muffled, whistling sound at the point where it crushes. A disconnection usually produces no sound at all because the air is dumping into a wall cavity.
- Smell test. A disconnected joint that runs through an attic or exterior wall may pull in outdoor or insulation-contaminated air. If the register smells musty or dusty even when the room is clean, a disconnect is likely.
If you can see the flex duct inside the wall boot and it’s crushed, a technician can often fix it without drywall work. If the duct disappears into a ceiling with no visible access, don’t start cutting. That’s the point where professional inspection with a camera pays for itself, and the point where cleaning would be wasted money anyway. If you suspect blockages, professional air duct cleaning with negative-pressure extraction is the correct starting step, not more guesswork.
Duct Noise Diagnostics: Rattling, Whistling, Popping
Duct noise is one of the best diagnostic signals you have, because each type of sound maps to a specific physical condition. Listening carefully and noting when the noise occurs is as useful as the sound itself.
- Rattling. Loose metal duct, a fitting that’s worked loose from its hanger, or a blower that’s out of balance. Rattling that changes with fan speed points to the blower side or a loose takeoff. Rattling that’s steady regardless of speed points to a joint.
- Whistling. Whistling means velocity against a restriction: an undersized return, a crushed duct behind a register, or a partially closed damper. Whistling at a single register almost always means that run is too small for the airflow being demanded.
- Popping or banging. Pressure swings against a duct that isn’t properly secured. Sometimes it’s a return-air starvation issue where the system is pulling more than the ducts can supply. Sometimes it’s a poorly fitted joint moving under pressure changes. Either way, it’s a system-fit problem, not a sign the HVAC unit is failing.
- Buzzing or humming. Usually blower or motor-side, not the ducts. Worth separating out so you don’t confuse an HVAC service call with a duct service call.
What noise tells you that temperature doesn’t
Rattling and popping often appear before airflow problems, which makes noise an early-warning signal worth acting on. If a duct starts rattling in a newly renovated Astoria apartment, ask whether any ducts were moved or reconfigured during the renovation. That’s a common point where fittings get loosened or a return gets rerouted without proper re-sealing. Noise is how you know to look before the comfort complaint shows up.
DIY Fix vs. Professional Equipment: Where’s the Line?
Some duct issues are genuinely homeowner-level fixes, and pretending otherwise wastes everyone’s time. Knowing where the line sits prevents both unnecessary service calls and dangerous or ineffective DIY attempts. The chart below is the working rule of thumb we use.
| Task | Homeowner-Friendly? | Why |
|---|---|---|
| Replacing the air filter | Yes | Cheap, safe, and affects the whole system |
| Cleaning the register grille and visible boot | Yes | Accessible surface dust; doesn’t reach the duct interior |
| Opening and closing supply dampers | Yes | Adjusts balance without affecting structural components |
| Cleaning visible flex-duct interior | No | No negative pressure means loosened debris stays in the air |
| Sealing joints behind drywall | No | Requires access, proper mastic, and re-verify airflow after |
| Sanitizing the duct interior | No | Only effective after full mechanical cleaning and liner inspection |
| Repairing a disconnected joint or collapsed duct | No | Requires inspection, access creation, and system balancing |
The rule is simple: any task that stirs up debris inside the system without capturing it under negative pressure is a net negative. You’ll aggravate existing contamination rather than reduce it. Professional equipment, like the Rotobrush systems we use, is purpose-built to agitate and extract at the same time. When the issue is fit rather than cleanliness, like a disconnected joint or a collapsed run, the fix is repair and sealing with proper airflow verification afterward. That’s genuinely a different job from cleaning. If you’re seeing comfort issues alongside air quality concerns, professional HVAC cleaning is the place to start.
Dryer Vent Problems That Look Like Duct Problems
One of the most confusing diagnostics in an Astoria home is a dryer that runs but doesn’t dry and a laundry room that gets hotter and more humid than it should. It’s easy to assume the HVAC ducts are dragging in humidity or the dryer unit itself has failed. In many cases, the problem is a clogged or crushed dryer vent, which is a separate system from the HVAC ductwork and a completely different safety issue.
Why this matters more than airflow comfort
Dryer vent lint is highly combustible. A restricted vent traps heat and lint in the same location, and that’s how residential dryer fires start. This is one of the strongest reasons we treat dryer vent cleaning as a serious service rather than an add-on upsell. If your dryer takes two cycles to dry a normal load, or the exterior vent flap barely moves, don’t wait on it.
Telling the two apart
- The dryer vent runs from the dryer to an exterior wall; HVAC ducts route from the air handler to the rooms.
- Dryer vent problems smell like warm lint, not dust.
- HVAC duct problems affect room temperature and air quality; dryer vent problems affect laundry drying time and the laundry room humidity.
- In many Astoria buildings, the dryer vents through a long, flex-heavy run to reach an exterior wall, which makes blockage more likely than in a short-run home.
When the two systems both need work, it makes sense to handle them together. One visit, one provider, and no duplicated setup costs. That’s the practical benefit of the full five-service scope we run.
When Cleaning Isn’t Enough: Repair and Sealing
Here’s a pattern that shows up repeatedly: a homeowner books a duct cleaning, the technician finds and removes a lot of debris, and the air quality improves for a short while before settling back to where it started. What’s missing is that cleaning addressed the debris but not the reason the system was getting dirty in the first place. Loose joints, disconnected runs, and gaps in the return chase pull in attic air, basement air, or wall-cavity dust every time the system cycles. Cleaning is not a substitute for sealing.
What repair and sealing actually involves
- Inspect the system to identify disconnected joints, collapsed runs, and unsealed gaps.
- Seal joints and plenums with proper mastic and mesh, not tape that will fail in the heat.
- Re-verify airflow at the registers after sealing, since sealing can shift balance between rooms.
- Complete the cleaning and sanitizing pass after sealing is verified, so any remaining contamination is fully removed and stays out.
Duct repair and sealing is where we see the biggest long-term difference in Astoria homes, because the older stock tends to have more opportunities for leakage. A prewar building with a return chase in a shared wall is going to pull in dust from every gap, and no amount of repeated cleaning will outrun that. If you’ve had your ducts cleaned before and the problems came back, repair and sealing is the next step, not more cleaning.
Where air quality and sanitizing fits
Once the system is clean and sealed, an air quality and sanitizing pass is the correct final step. We work with Aprilaire and Honeywell for filtration and air-quality components, and Abatement Technologies equipment where contamination levels demand it. Upgrading filtration without first sealing the system is a common mistake, because a high-efficiency filter will simply clog faster in a leaky duct. Sequence matters: clean, repair and seal, then upgrade. Once the foundation is right, brands like Aprilaire and Honeywell, installed by people who understand the full air system, are worth the investment.
Common Mistakes to Avoid
- Blaming the HVAC unit first. The furnace or AC is the visible target, so it gets attention while the ducts don’t. Most comfort problems we diagnose trace back to the ducts, not the equipment.
- Hiring on price alone. A low bid usually means a shop vac and a single pass. It stirs up debris without capturing it, and the air quality can end up worse than before.
- Cleaning before sealing. If joints and disconnected runs aren’t sealed first, the system recontaminates within weeks. Sequence this correctly and the clean lasts.
- Upgrading the filter before sealing the ducts. A stricter filter in a leaky duct just clogs faster. Seal first, then upgrade filtration.
- Running the sanitizing step without clean and dry ducts. Sanitizer applied over debris or a wet liner hides nothing. It simply doesn’t work.
- Ignoring the dryer vent. It’s separate from the HVAC ducts and a genuine fire safety issue. Blocked vent airflow doesn’t always show up as an obvious clue.
- Cutting into walls without knowing what’s behind them. If the duct problem isn’t visible, hire professional inspection rather than starting exploratory drywall work.
See the difference
 Before
 After
 Before
 After
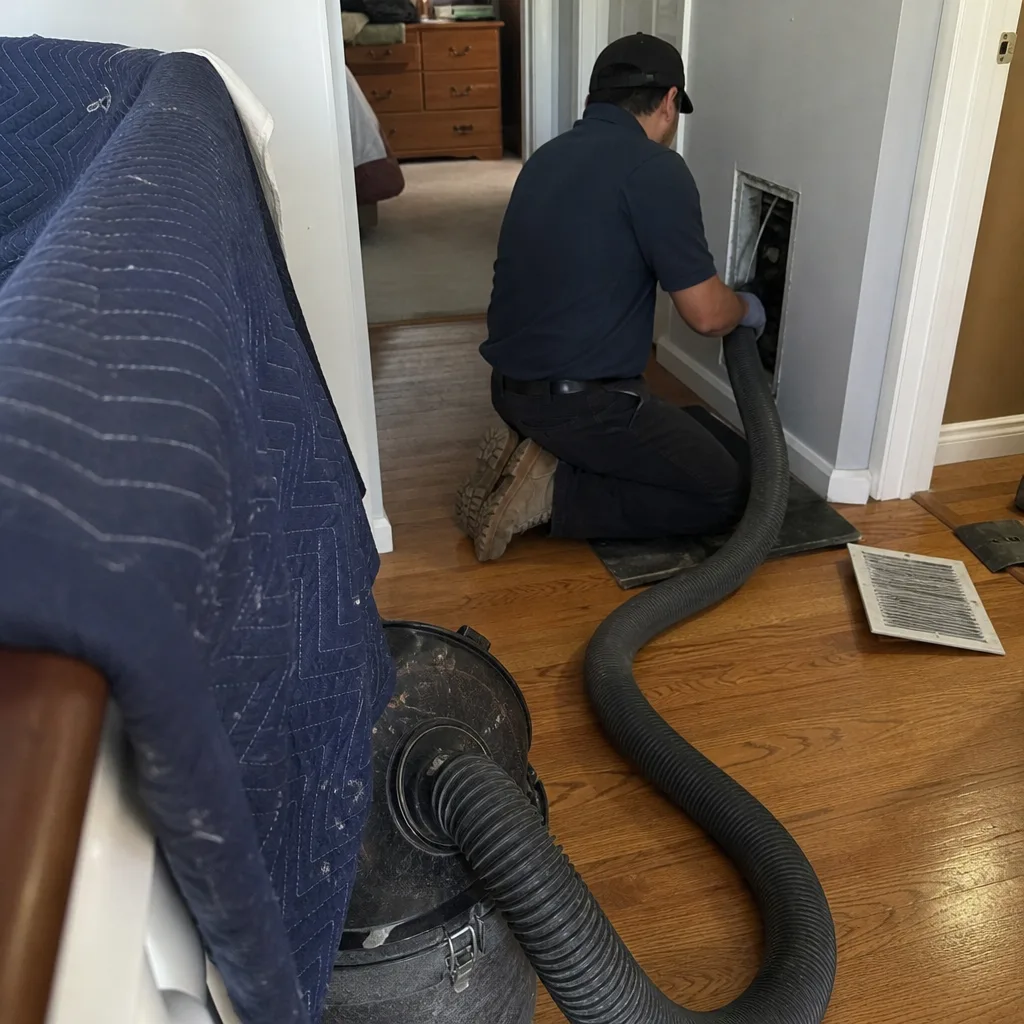 Before
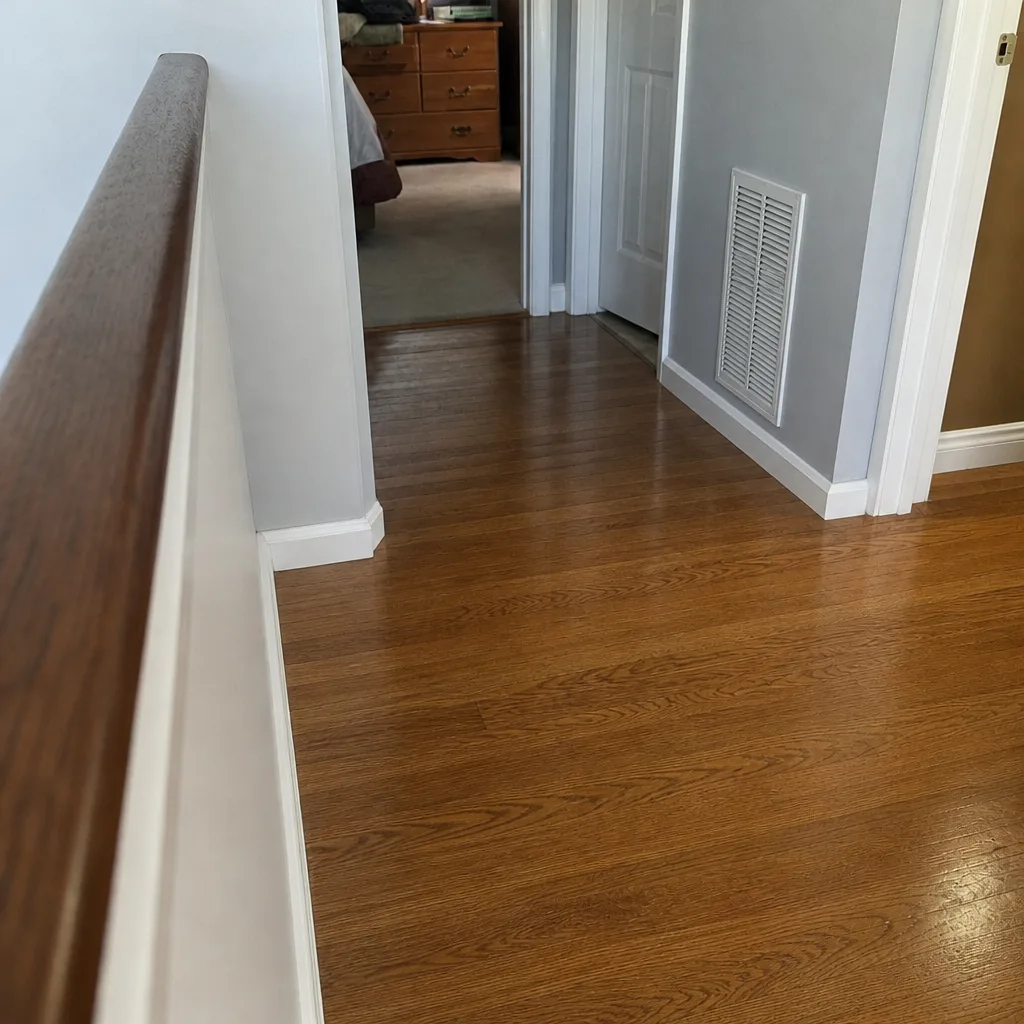 After
When to Call a Professional
Call a professional when the symptom map points inside the wall, when the noise or smell has returned after a previous cleaning, or when the issue involves a safety-sensitive part of the system like the dryer vent. Those four cases almost always need inspection with proper equipment and a plan that includes repair and sealing. The other case is peace of mind: if you’ve lived in an older Astoria building for a while, have no record of the ducts being cleaned, and you’re seeing a combination of dust, comfort, and odor issues, a professional inspection is more useful than another round of DIY filter changes. Our technicians have up to 10 years of experience reading exactly these patterns. Air Duct Cleaning Astoria offers free estimates in Astoria, and the price is set by a written estimate before any work starts. Call (855) 510-1266. We answer 24/7 with fast dispatch from 7am to 7pm.
Frequently Asked Questions
Air duct cleaning in Astoria typically runs from $350 to $900 for a whole-system clean, depending on the number of runs, system size, and whether repair or sealing is needed. Anything priced below that range is usually a per-vent teaser that becomes a much larger invoice once the technician is on site. A written estimate before work starts is what keeps a duct job honest, and it should cover the whole system, not a per-vent count. Call (855) 510-1266 for an exact quote – estimates are free.
Cheap quotes usually reflect cheaper equipment and a faster, shallower process. A shop vac and a single pass won’t hold negative pressure the way a Rotobrush or Nikro system does, which means much of the debris stays in the system or settles back a few days later. The cheaper bid is often a real cost problem in disguise, because it doesn’t fix the underlying condition and you end up paying twice. Call (855) 510-1266 for a written estimate that reflects the whole system.
Ask for before-and-after photos of your own ducts and for the technician to walk you through what was found and what was sealed. The bigger sign is durability: if the smell, dust, or uneven-room complaint hasn’t returned within a few weeks, the clean was done correctly. You can also check whether the estimate was written per job rather than per vent; per-vent pricing is one of the clearest signs the work won’t be thorough. Call (855) 510-1266 for a free estimate with photos on every job.
For most Astoria homes, duct cleaning every three to five years is reasonable, but the honest answer depends on the specific house. A recent renovation, pets, smoking, a long-running elderly HVAC system, or a leaky return chase can shorten that interval. If sealing is done properly, the interval stretches, because the system stops pulling new dust in. Call (855) 510-1266 for a free estimate and an honest read on your system.
No, a shop vac isn’t the right tool for cleaning the inside of ductwork. It agitates debris without the negative-pressure extraction that keeps the loosened dust contained, so you end up pushing it into the room. It also can’t reach behind boots or into return chases. A homeowner can safely handle filter changes, register grilles, and damper adjustments; the interior of the system is a professional job. Call (855) 510-1266 for a free estimate.
No, the approach is matched to the system and the contamination level. A standard cleaning uses professional-grade Rotobrush equipment with negative-pressure extraction. A system with existing air quality concerns or heavier contamination calls for Abatement Technologies equipment and a longer process. Sealing is added when the inspection shows leaks, and sanitizing is done last, after the system is clean and dry. Call (855) 510-1266 for a free estimate and a plan that fits your unit.
The Bottom Line
Most air duct problems in Astoria trace back to the duct system itself, not the HVAC unit, and the fix depends on reading the symptoms accurately. Uneven rooms, musty odors, weak airflow, and duct noise each point to a specific cause, and the difference between a restriction, a leak, and a blockage matters for the repair. Handle the filter, register, and damper checks yourself. When the symptom points behind a wall, into a return chase, or at the dryer vent, a professional with negative-pressure equipment resolves it correctly and repairs what they find rather than cleaning around the cause. Air Duct Cleaning Astoria offers free estimates and sets the final price by written estimate before work starts. Call (855) 510-1266 to book yours. We answer 24/7. Fast dispatch from 7am to 7pm. Read more about our full Air Duct Cleaning Astoria service and the full-system workflow.
Written by the team at Air Duct Cleaning Astoria.